Painting together in aid of Combat Stress
10 July 2025
I was straight into Per's (Roll-a-one) call to action on taking part in a project of his. As I re-read and took in what was required, I thought I can do this, even without my painting team behind me. Eight Stages should do it.
I quote here word for word what Per said in his post.
“I invite you to participate in a community effort to paint one base of 6mm miniatures to support the building of two opposing armies in 6mm – provided free by Baccus 6mm. You will then send back the painted miniatures and they will be based up in a unified manner and a few battles fought with them and then they will be sold-off and the proceeds given to the Combat Stress charity. Whether you painted 6mm or not previously is not important and I will provide some painting tutorials in future blog posts."
 Preparation
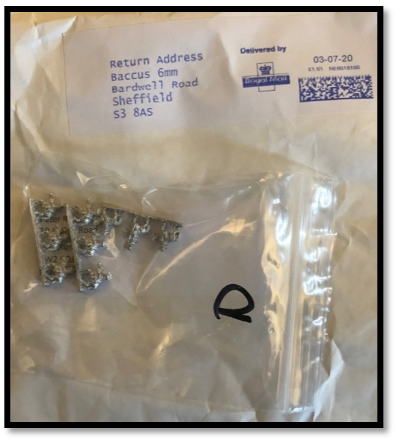
So I read the painting tutorials, watched the posts on Twitter and realised how good the guys who joined in were at painting 6mm. Per’s figures were posted to me on Friday the 3rd of July by Peter at Baccus 6mm and arrived at my door on the morning of Saturday the 4th of July - less than a day later.
I set-up my painting area to cater for painting troops rather than buildings. I found my lolly sticks and sorted out all the colours I would need for the job.
Ripelev's Dragoons have red coats and red cuffs that are lined with light blue and hats with silver lace edgings. The light blue and silver lace represent a battle honour won at the Battle of the Lakes, where Ripelev's Dragoons discovered and then fought off a Denswe flanking attack. It is said that the honour represents the lakes that were “perfectly light blue like the clear sky” and “shimmering silver light reflections of the sun.”
Stage one - getting them ready to paint
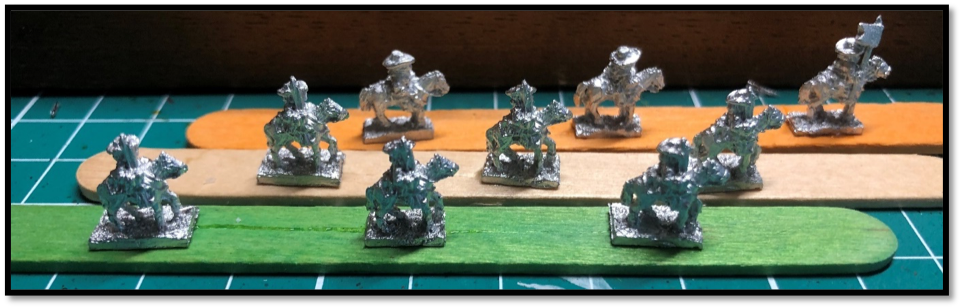
I began by cleaning up the figures. It was only one to be honest as they were very good castings. I filed and clipped the bases short to allow Per maximum space on the base when he comes to base them. I then used a very small dab of superglue to fix them onto the lolly stick ready for their undercoat.
Stage two - the undercoats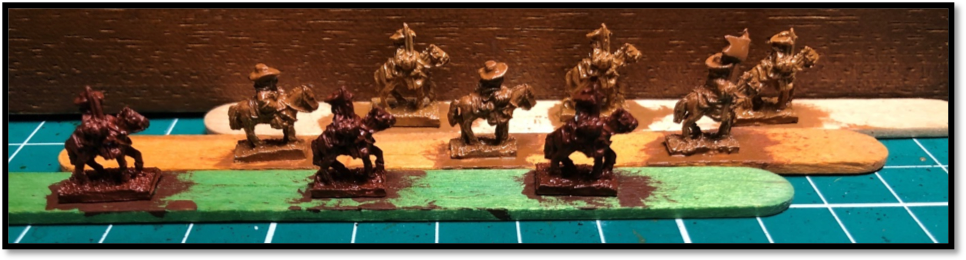
Adding the undercoat, I chose to use various shades of brown. This suits me as I am a bit useless with horse colours. This will leave me to do just the details like the mane, tail and legs colours if needed. And the leather work of course.
Stage three - the main wash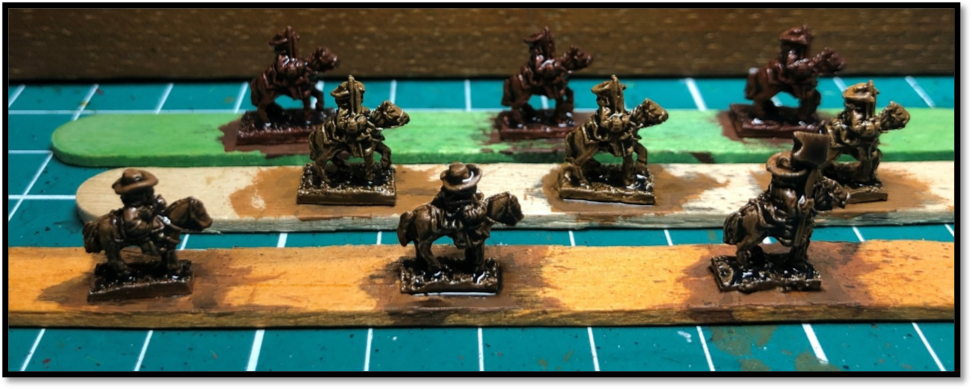
I have applied a liberal wash of Nuln Oil Shade. It’s my wash of choice for picking out the details of the figure and makes it easier to paint, as Per pointed out in his blog piece. Nut Brown comes later on in the process.
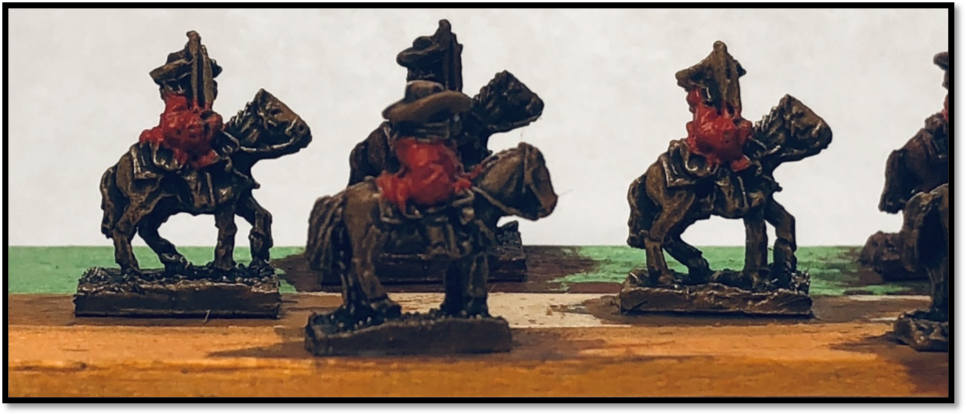
Stage four - the coats
Here we have put on the basic coat colours, which is red for the troopers and colonel. 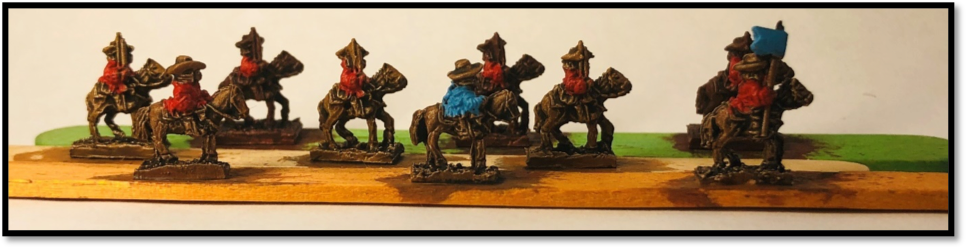
Seen here in red with red cuffs they will have a light blue edging added to the cuffs and coats in the fullness of time.
I have also done the drummer with a light blue coat as well to give some variation and a light blue banner, that is a regimental honour from the battle of the lakes.
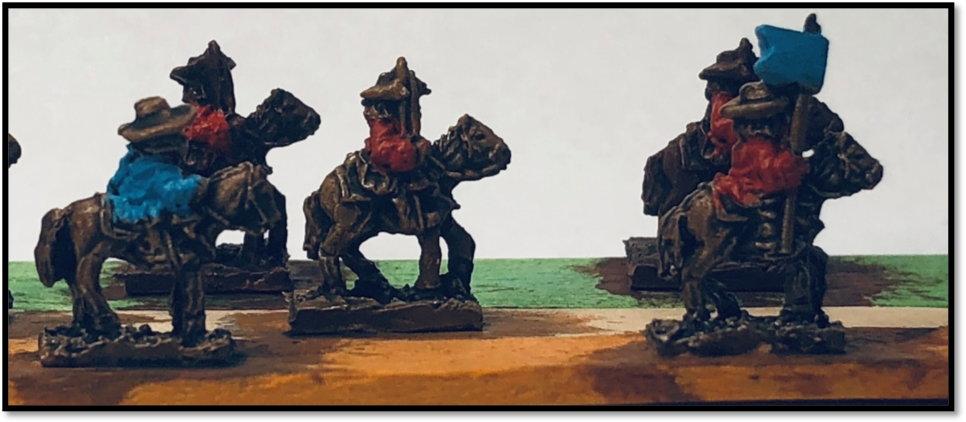
Stage five - the hats and boots
Busily putting on some details and some saddle edging along with hats, boots and hair. Also have done some horse detailing on the tails and manes.
Putting on some belts, banner pole and musket stocks prior to some adding some silver to show up the metal on the figures.
The edging on the saddle cloths and the cuffs is showing up nicely on the models as they begin to come together.
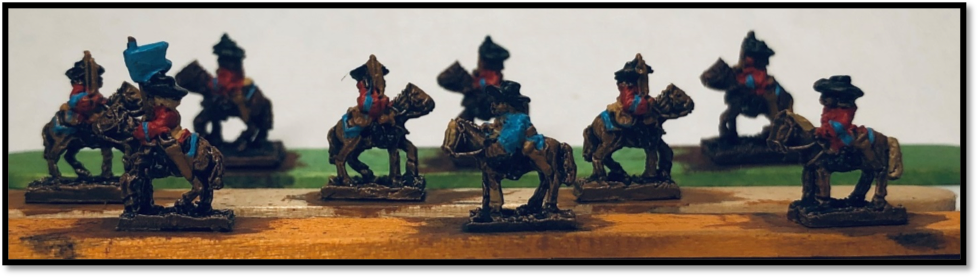
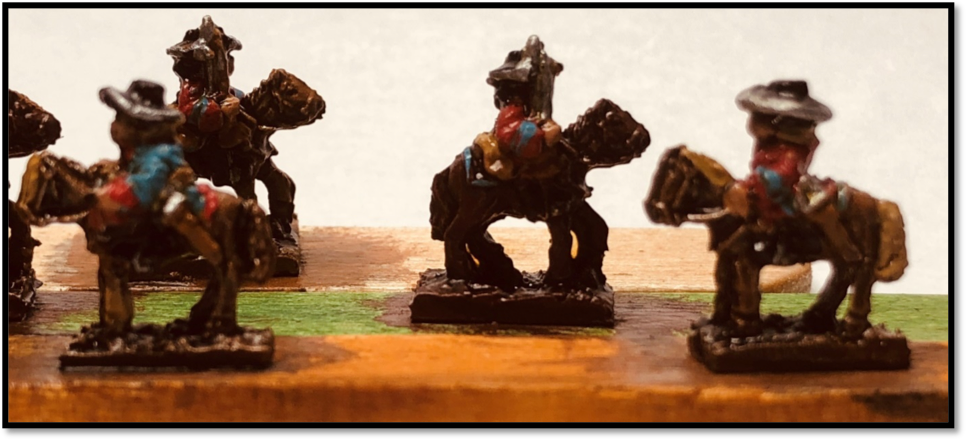
Stage six - steel and flesh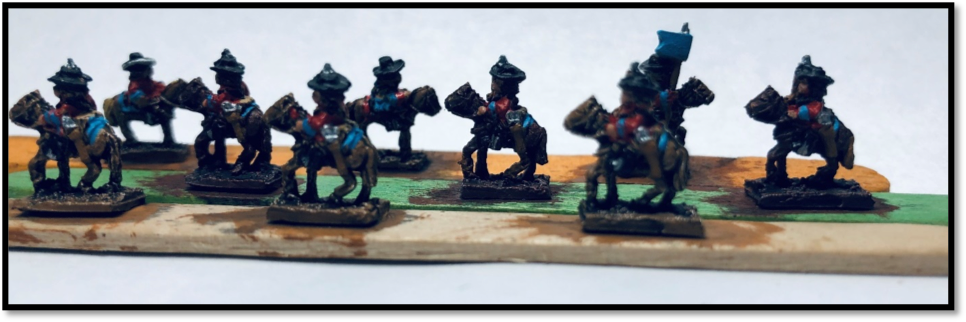
I have been adding silver to detail the steel on the figures on the dragoon muskets, sword handles and banner pole tips both top and bottom. As well as adding a nice silver trim to officers’ hat.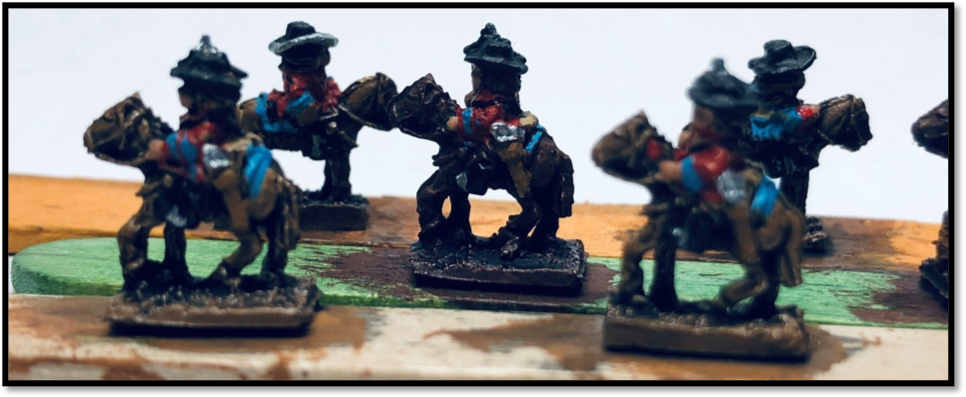
The flesh is also done on the faces and hands and I have changed some little details using black for the cross belts.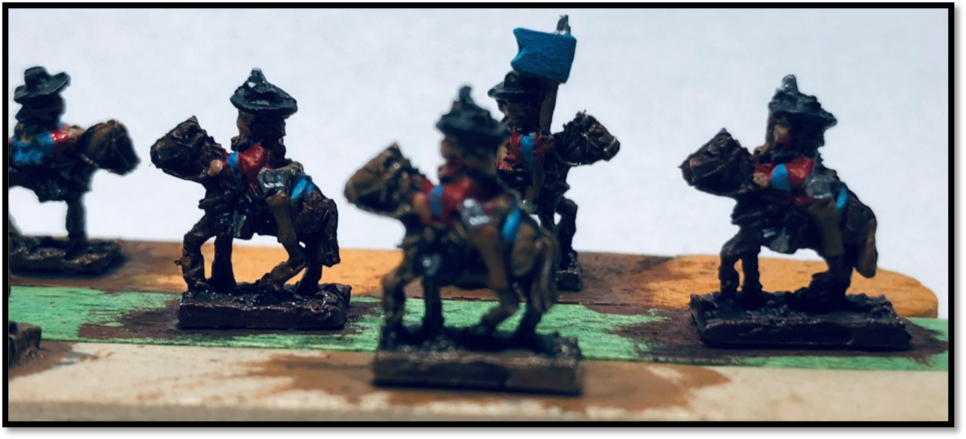
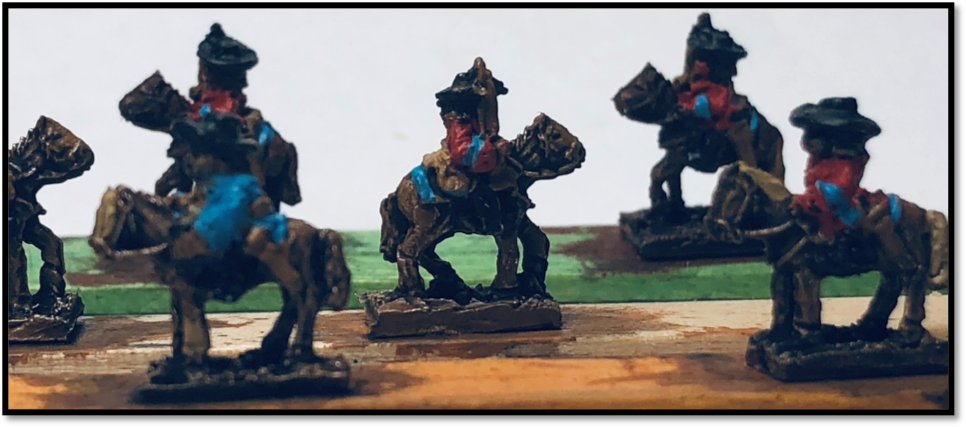
Stage seven - hat trims, final touches and nut-brown wash
Now we are getting into the final bits and pieces of the job. They are looking like a regiment and are ready for the final touches. We have now done the nut brown wash all over.
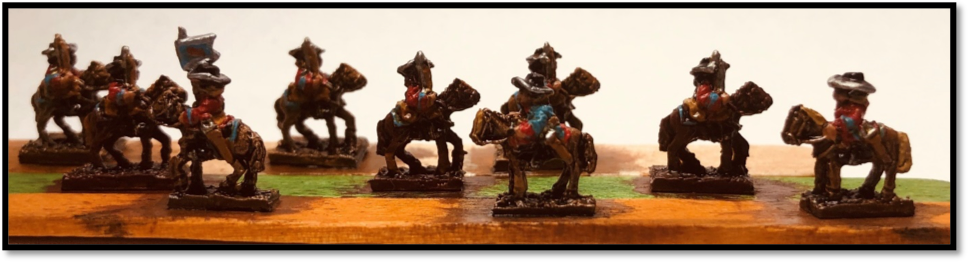
Highlighted, touched up and tidied some of the missed painting strokes and wrongly painted hair and overspills. And finally added the silver trims onto the hats and flags. Ready for the final act of varnishing with a matt varnish.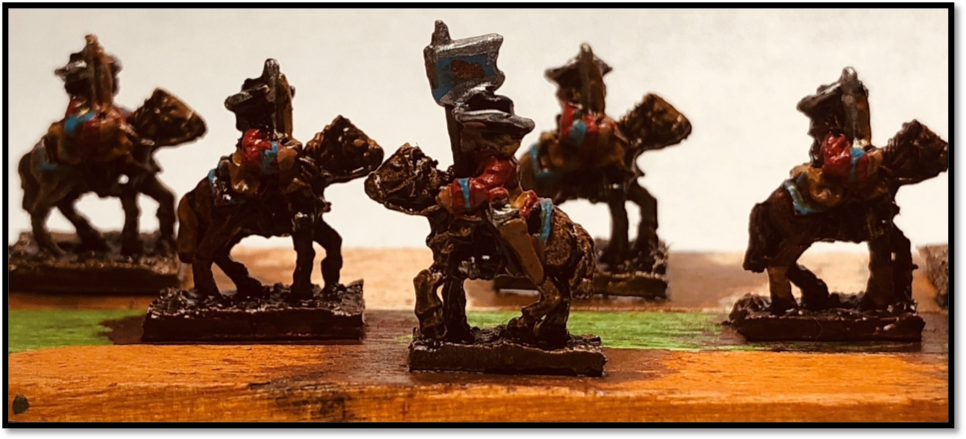
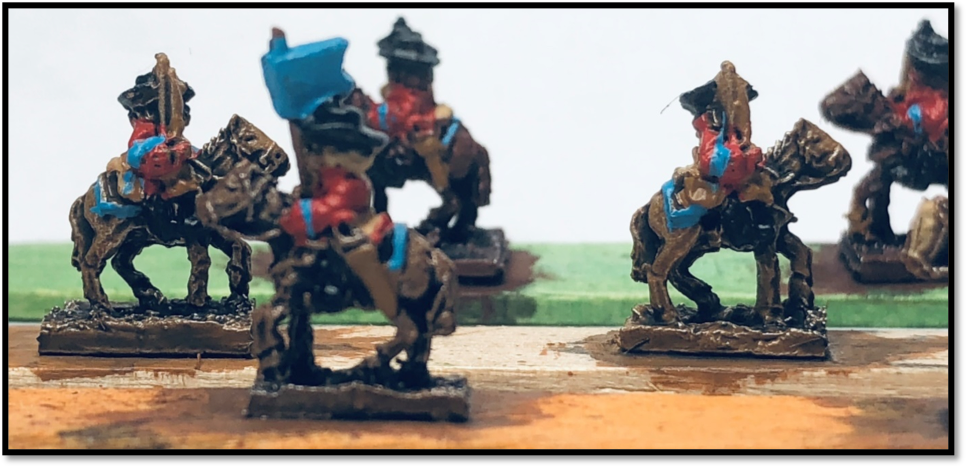
Stage eight – debase and final picture
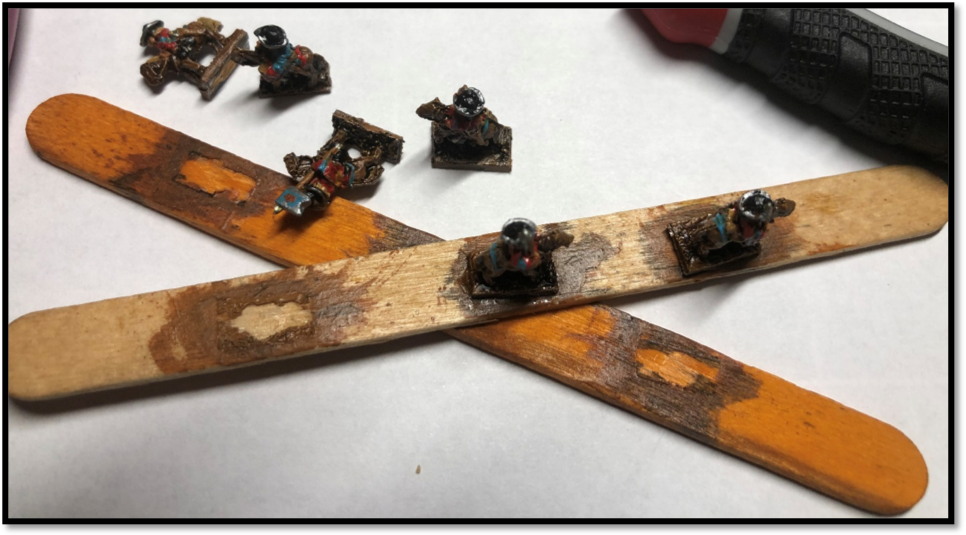 Cracking the figures off the painting stick is very stressful, that superglue is very “super”. Next time I might try a small lump of blue tack.
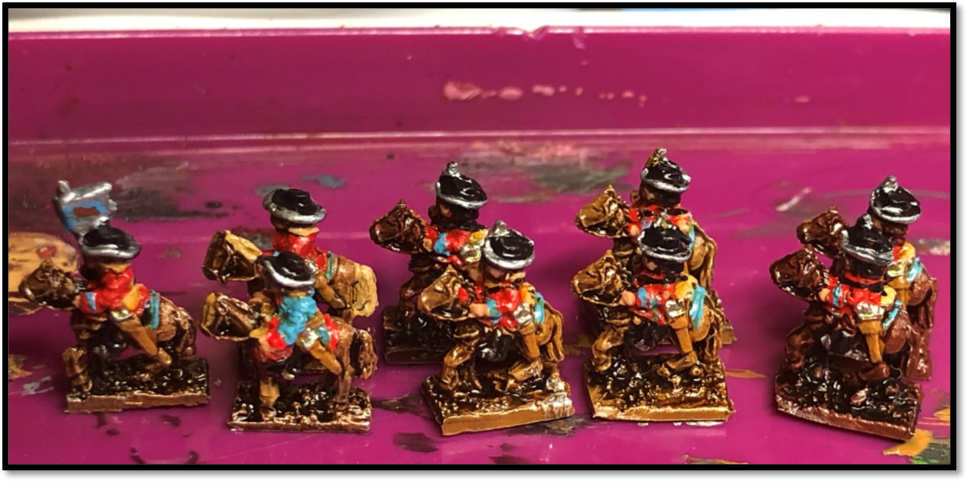
These are all finished now and ready to be posted to Per for basing. Can’t wait to see the based and finished product.
I must say I really enjoyed this process and linking in with the group. I did the process over the weekend taking out small bits of time to each stage. I estimate about 4 to 5 hours of actual painting time. And it’s all for a good cause, as the sale of the armies will go directly to the Combat Stress Appeal, the UK's leading charity of Veterans' mental health. They help former servicemen and woman with mental health issues such as PTSD, anxiety and depression.
I reckon I should put this on the Collections Calculator to see what they might be worth😊